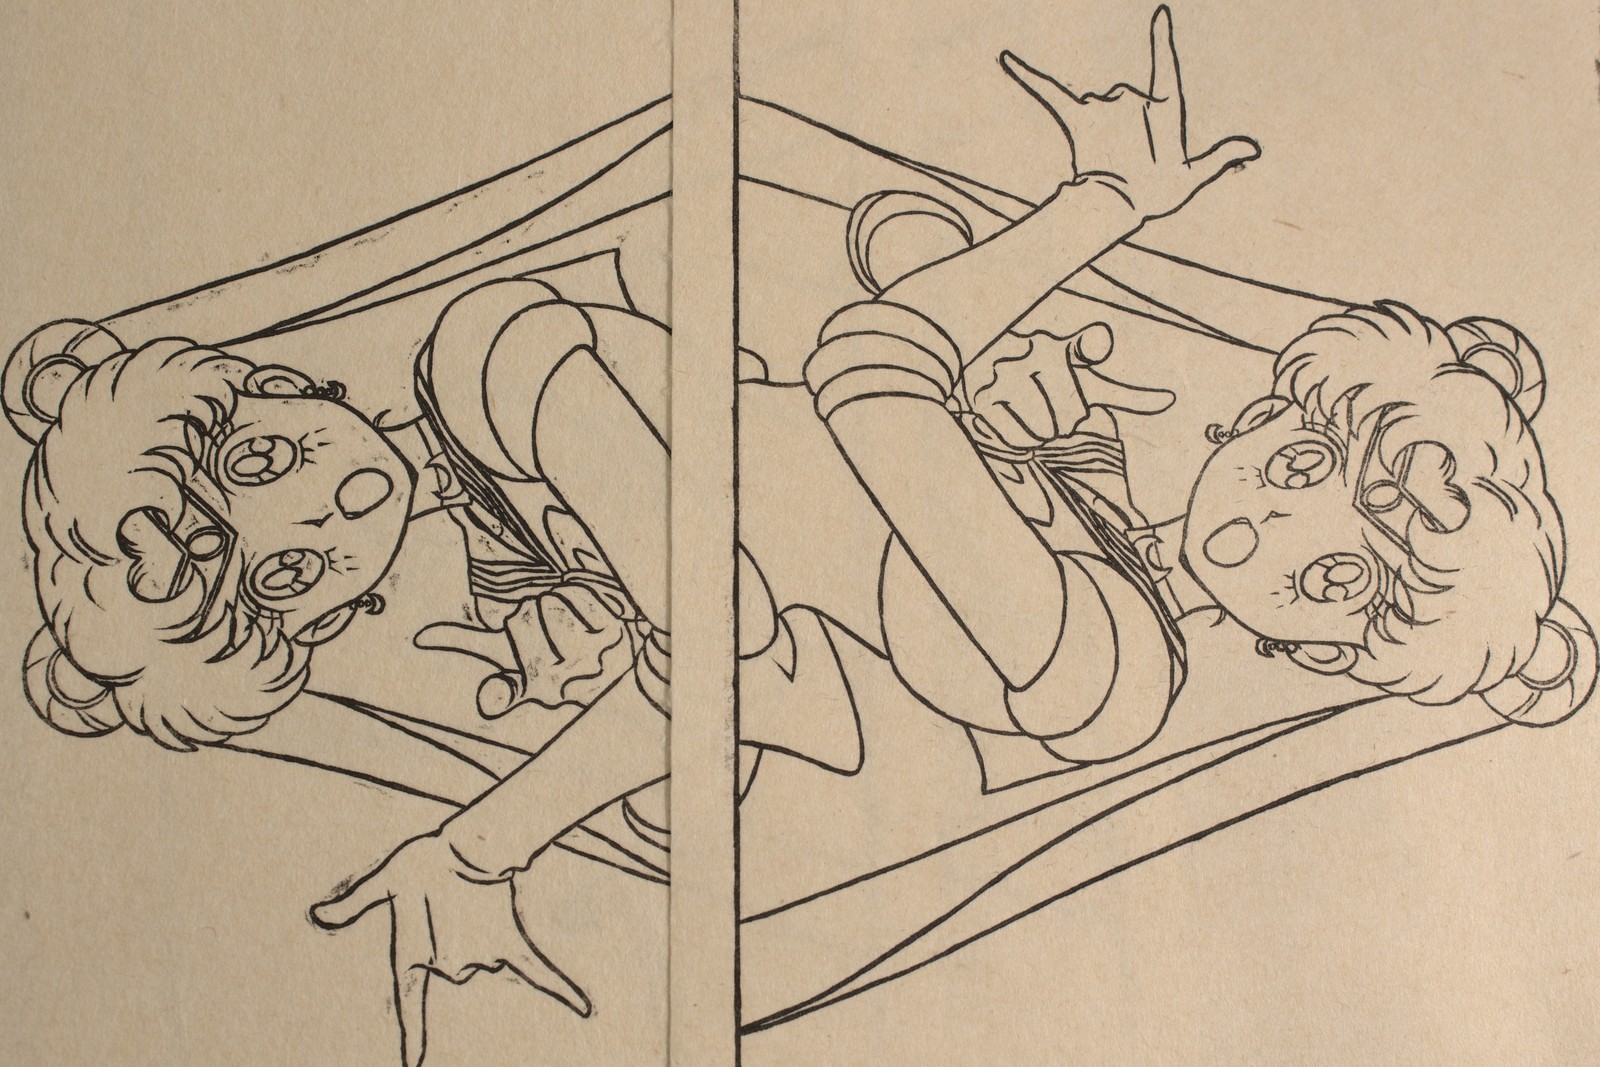
I was recently able to finish carving the Sailor Moon color blocks, and I finally did some test printing over the last week. I’m quite pleased with how it turned out. It’s pretty close to how I envisioned it. There are few minor registration issues that I’ll need to fix, and the key block needs to be touched up in a few places, but no major issues fortunately.
The background pattern on this image features over a dozen different gradations, which I was a bit nervous about, since I didn’t have any prior experience printing normal gradations. But it was actually not too difficult at all to get a nice smooth gradation.
During this test printing session, I also wanted to experiment with some new papers that I recently acquired. The print in the first image above was printed on Awagami “Kozo Extra-Thick” (70gsm), which I was pretty happy with; though I would prefer it a bit thicker.
Another paper I tested with was “Tosa Hanga Natural” sold by Hiromi Paper. This paper is quite soft and fluffy, so when I printed the key block it picked up a lot of color from the recessed areas of the block. So on the next sheet, I quickly calendered/flattened it by laying it down on my desk and giving it a good rubbing with my baren. I was a bit astonished by how much of a difference this made, as shown in the image below.

Even after calendering, I’m not a huge fan of this paper for multi-color woodblock prints, since it tended to leave fibers on the block. Plus the “natural” color of the paper was a bit grayer than the Hiromi product photos led me to believe (although, the lighting in my photo above exaggerates the paper color a bit).
Anyway, I have a few carving fixes to make on the blocks, plus maybe carving one additional block. I hope to get that wrapped up this week, and then do a “real” printing run next weekend.
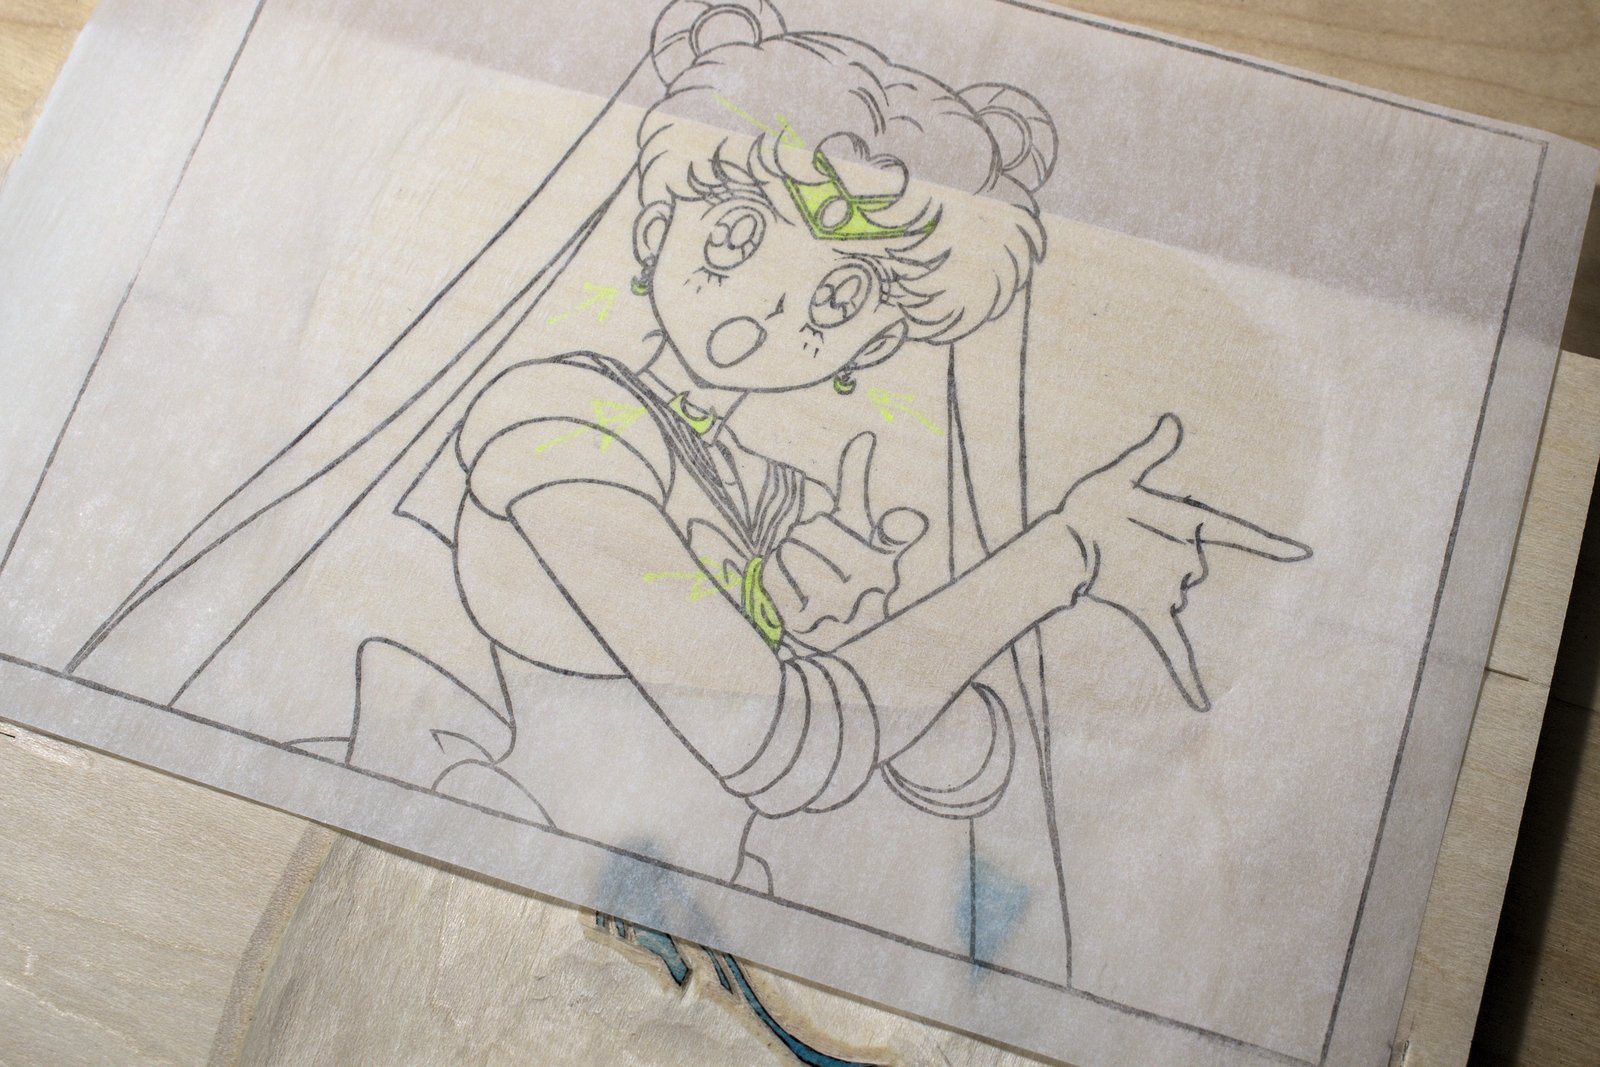
Bonus Oops: When I was positioning the color transfer sheet for the “gold” color, I was a bit too focused on the bottom-most area’s distance from the already-carved “blue” areas, and I didn’t notice that the top-most gold area was off the block:

Fortunately I noticed before I started carving. So I was able to just move the registration marks down a few millimeters, and re-paste the transfer sheet.
